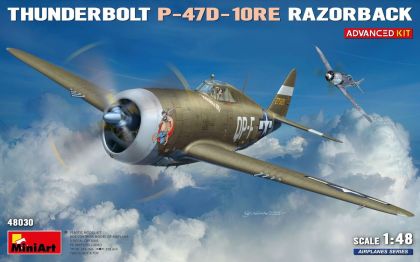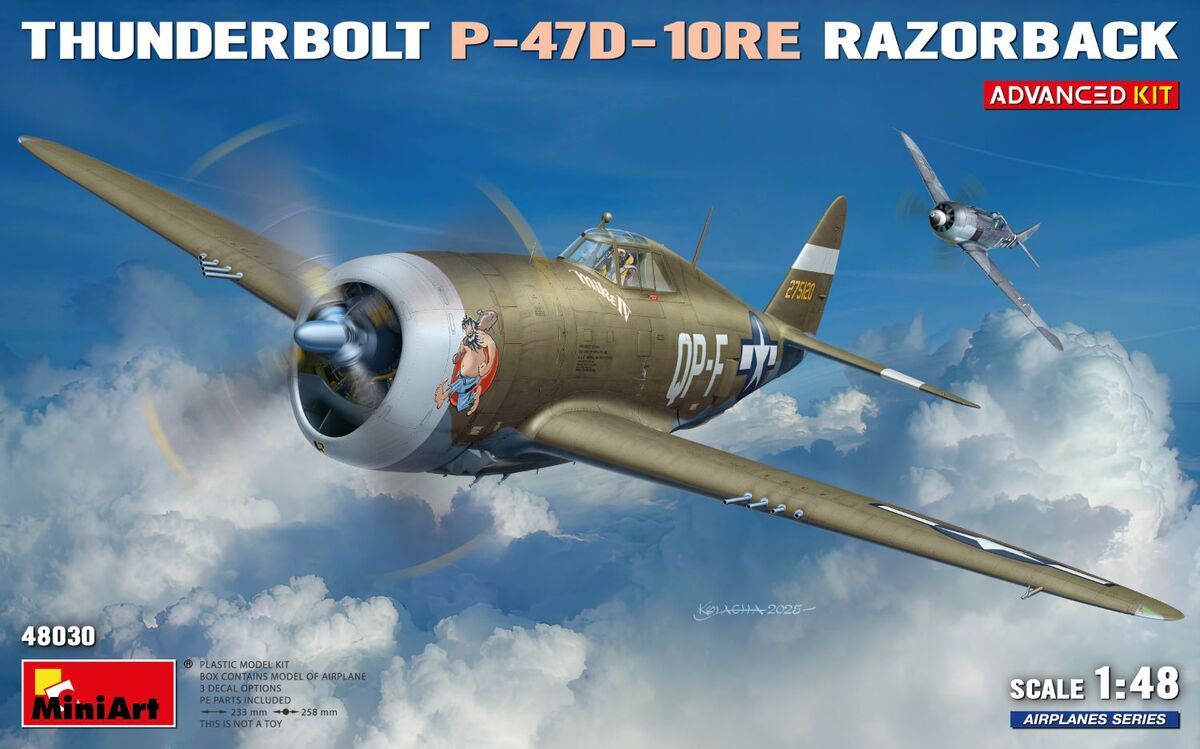
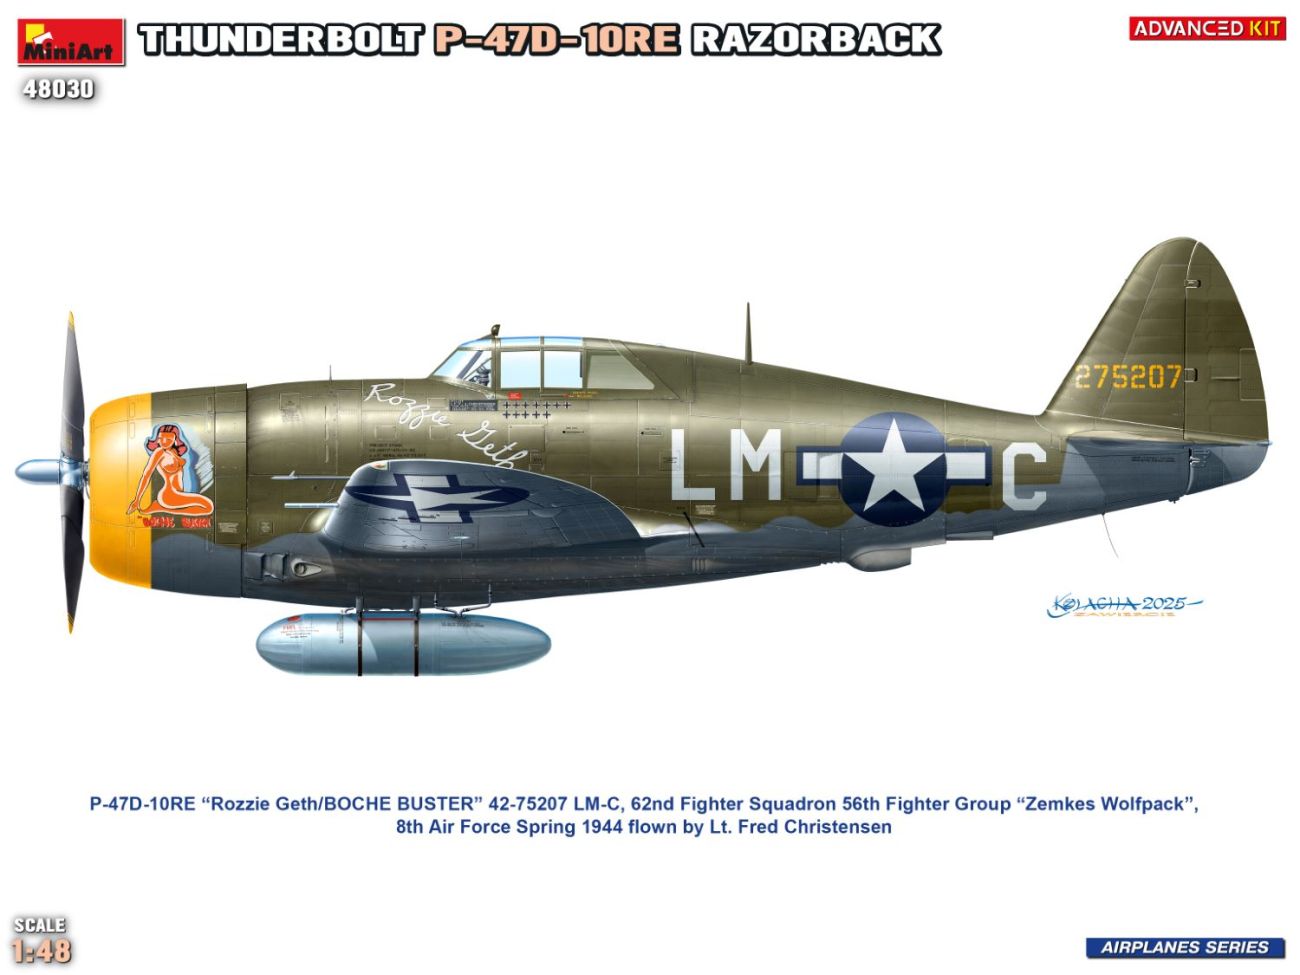
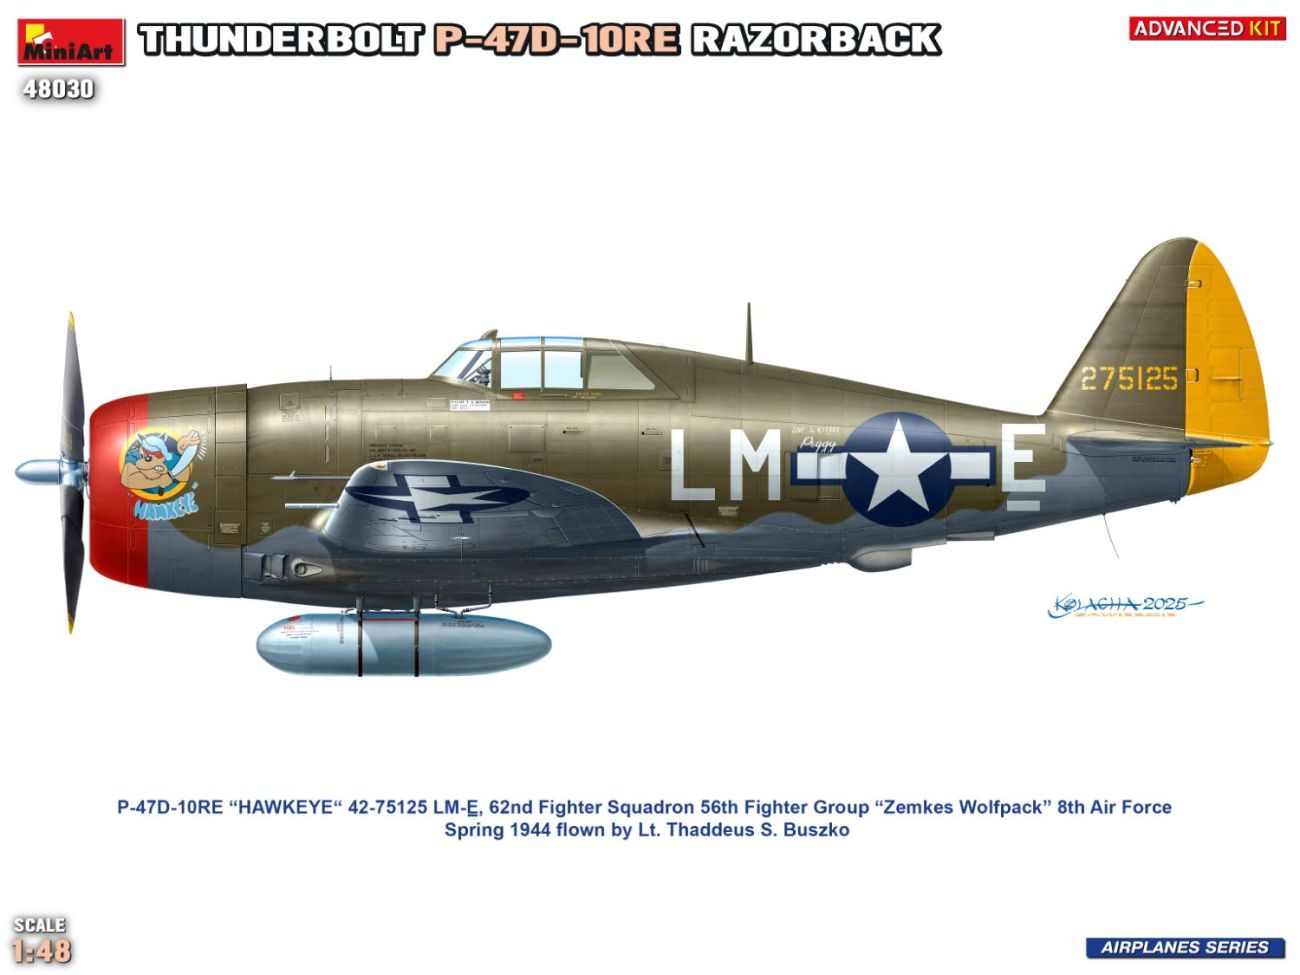
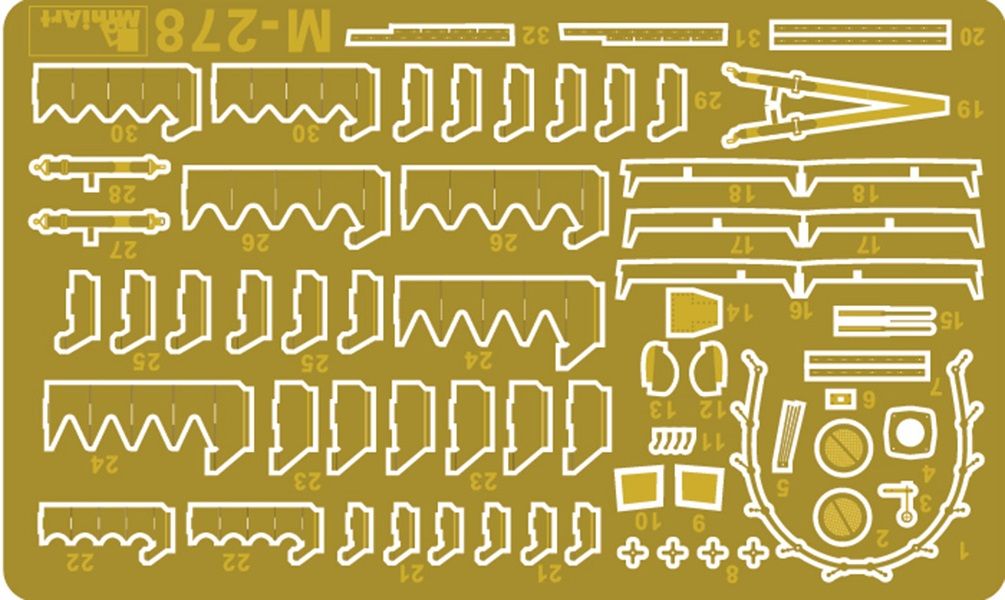
MiniArt 1:48 Republic P-47D-10 RE Thunderbolt Razorback — Advanced Kit is an injection-molded plastic kit of the early version of the American fighter with a framed canopy and a high spine. The Advanced edition adds photo-etched parts, a fully detailed engine and openable gun bays to the plastic.
Responsibility details are not available.
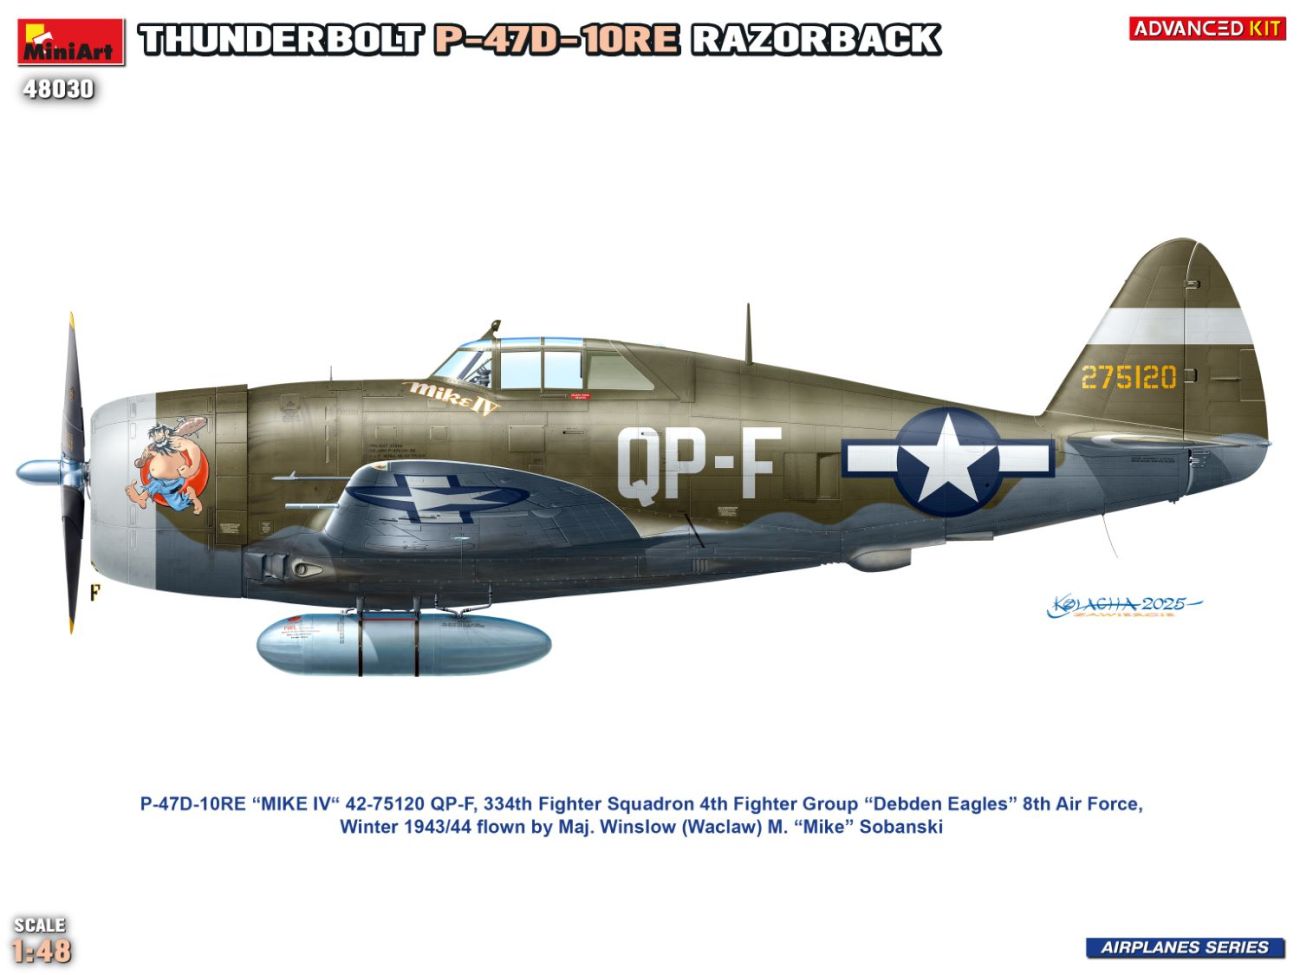
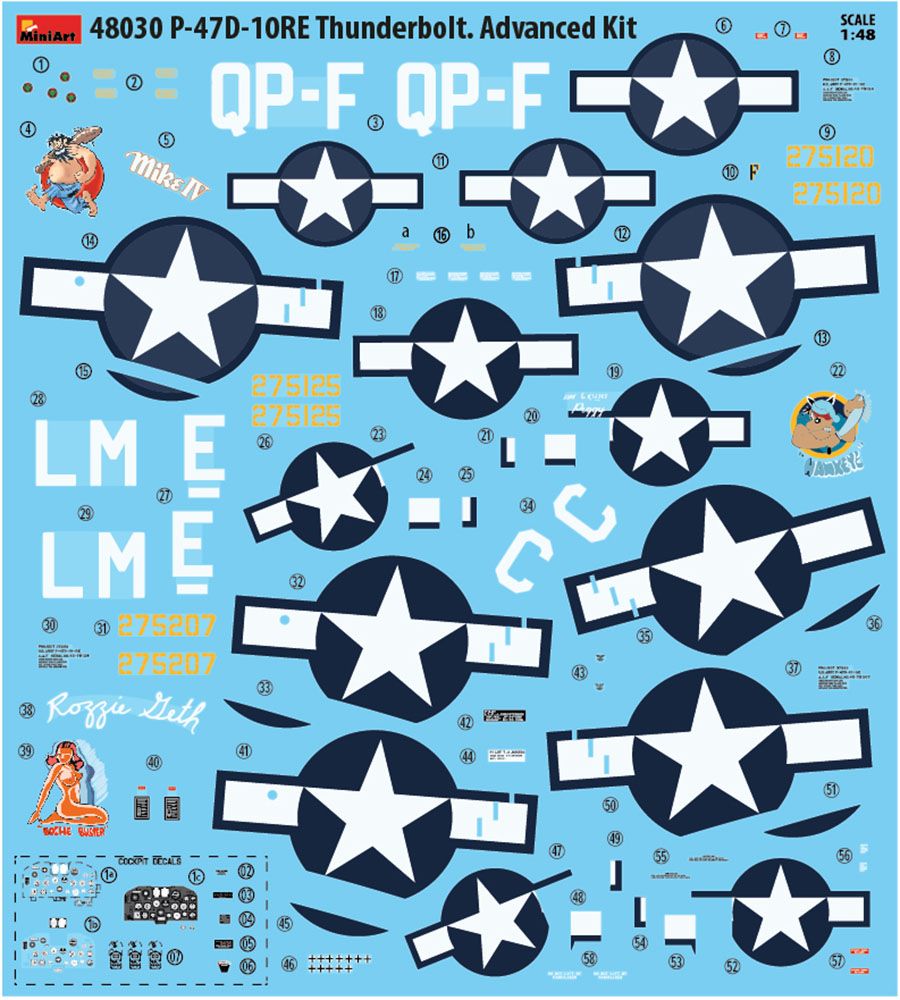
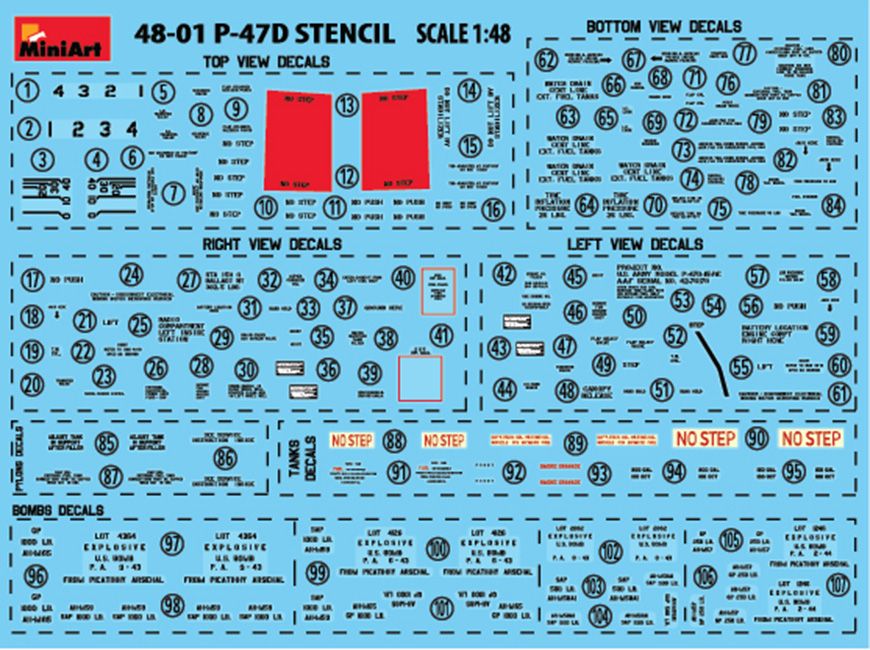
An injection-molded plastic kit in 1:48 scale from MiniArt. It captures the early P-47D-10 RE version in razorback form, that is with a framed canopy and a high spine behind the pilot, which made the view to the rear practically impossible. That is exactly what tells the machine apart at first glance from the later Thunderbolts with a bubble canopy. The Advanced Kit designation at MiniArt means a richer box than the parallel Basic line: besides the plastic it includes photo-etched parts, a fully equipped radial engine with wiring and photo-etch around the firewall, openable gun bays with eight heavy machine guns and ammunition, an optionally open or closed canopy, external stores and drop tanks. The decals cover three marking options. If you are looking for the late Thunderbolt with a bubble canopy, MiniArt offers the P-47M as a separate kit — it is a different model, not another option in the same box.
The P-47 Thunderbolt, nicknamed the Jug, was the largest and heaviest single-engine fighter of the Second World War. It was powered by a Pratt & Whitney R-2800 radial engine, and its performance at high altitude came from a turbocharger housed in the rear fuselage — hence the bulky, pot-bellied shape of the airframe, through which the ducting ran to the turbine and back. The razorbacks of the D series fought over Europe from 1943. The aircraft earned a reputation as an exceptionally tough machine that brought its pilots home even when badly damaged, and it became a feared destroyer of ground targets: with eight machine guns, bombs and rockets it attacked trains, columns and airfields.
The kit is detailed, so expect a lot of small parts. Join the plastic with thin cement for polystyrene, attach the photo-etched parts with cyanoacrylate and degrease them before painting. Finish and paint the cockpit and the engine first, and only then close up the fuselage and the covers. Spray over a primer coat; an airbrush is a great advantage both on natural metal surfaces and on olive schemes. Lay down a gloss coat under the decals and flatten the surface once it is dry.
The model is supplied unassembled and unpainted. Glue, paints and accessories are not included in the package, unless stated otherwise.
Naši poradci a znalci sortimentu jsou připraveni odpovídat na Vaše dotazy (Po–Pá, 8–18 hod).
Zeptejte se na co potřebujete, odpovíme co nejdříve.
Texts from customers in the advice section reflect solely the opinions and views of the customers. MNF trade s.r.o. does not approve or verify customer texts in advance.
There are no questions here yet. Be the first to ask!