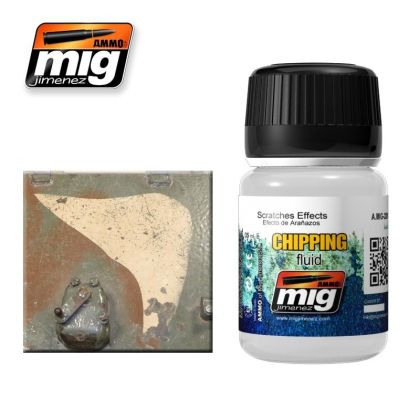
Painting a chip is hard; removing paint to reveal a chip is easy. That is the whole idea behind a chipping fluid: a water-soluble layer sprayed over the base colour, with the top coat applied on top of it. Wet the surface afterwards and the soluble layer softens, letting you lift the upper colour away with a stiff brush, a cocktail stick or a fingernail — and whatever was underneath shows through with an edge no brush could draw.
The method goes by several names and comes in several strengths, but the sequence never changes: base, fluid, top coat, water, work. Below: how to control how much comes off, and what to do when nothing does.
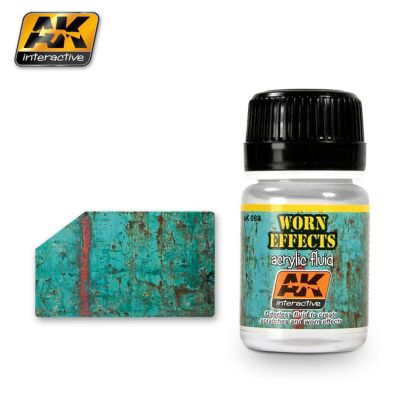
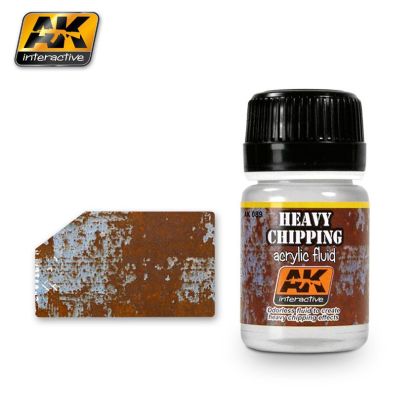
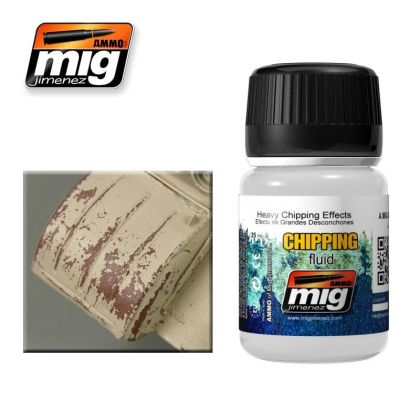
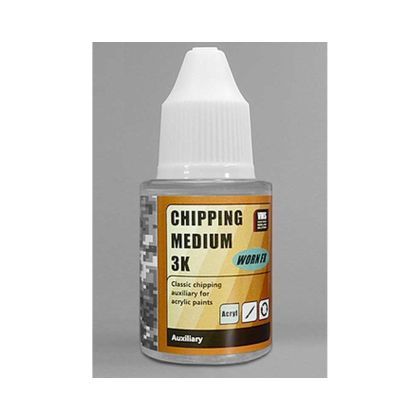
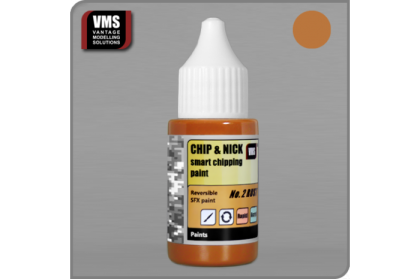
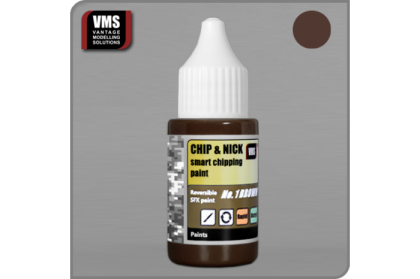
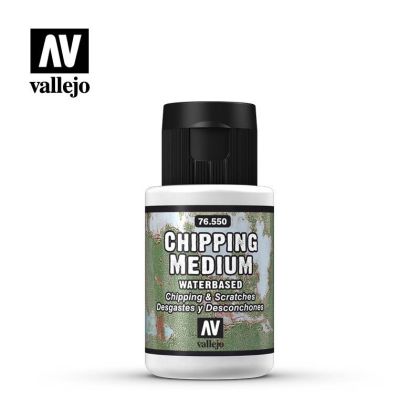
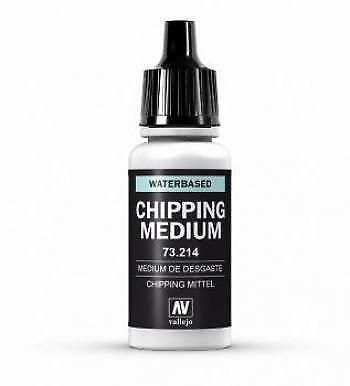
Airbrush-ready chipping fluids and mediums in different strengths and bottle sizes, worn-effect mediums intended for heavier damage, and brush-on chipping paints in rust, brown and grey tones for adding chips directly where a full hairspray-style sequence is unnecessary.
Lay the base colour — primer, bare metal or the previous paint scheme — and let it cure properly. Spray the chipping fluid in one light, even coat through an airbrush; a heavy coat makes the whole top layer peel off in sheets. Then apply the top colour, also thin. Acrylics from model paints work best, because they stay slightly brittle and crack where you want them to.
Start working within an hour or two of the top coat drying. Too soon and the paint smears; too late and it has bonded and refuses to move. Dampen a small area, wait a few seconds for the fluid to soften, then work with a stiff brush from specialist brushes and increase the pressure gradually.
Wear is not random. Hatch rims, step plates, the edges of engine covers, around handles and anywhere boots landed lose paint first; the middle of a flat panel almost never does. Keeping to those places is what separates convincing chipping from a model that looks sandblasted.
Fresh-chipped paint has a dark line where the edge has lifted and rust often follows. A touch of pigment in the chip, or a dilute pass with filters over the whole panel, ties the damage into the surrounding paint.
Usually the fluid coat was too thin or the top coat too thick. A slightly rougher base helps the fluid key; a primer or surfacer underneath gives a far more predictable result than bare plastic.
The wider sequence of effects is set out in weathering products.