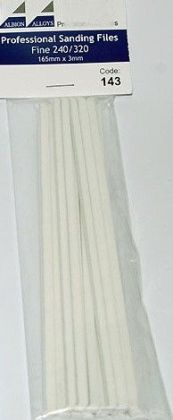
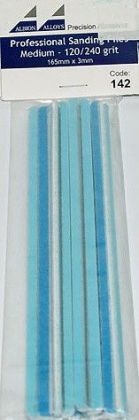
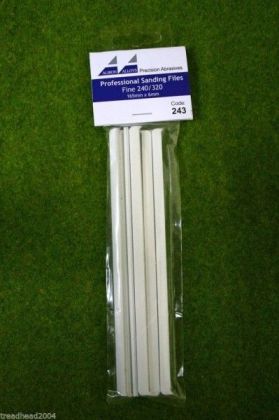
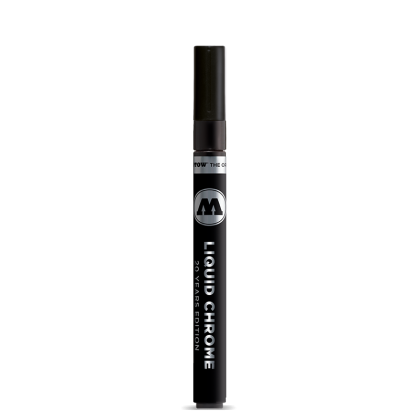
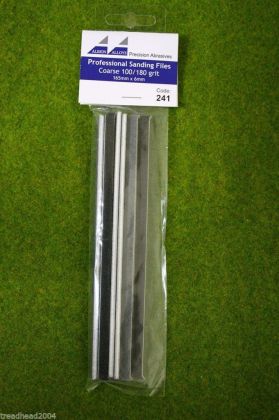
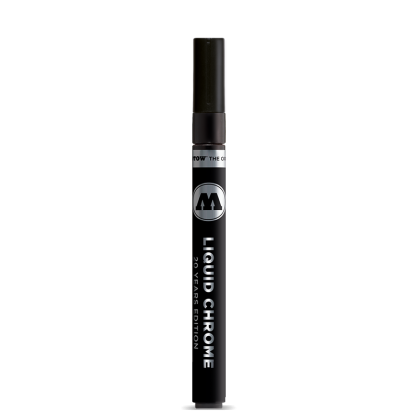
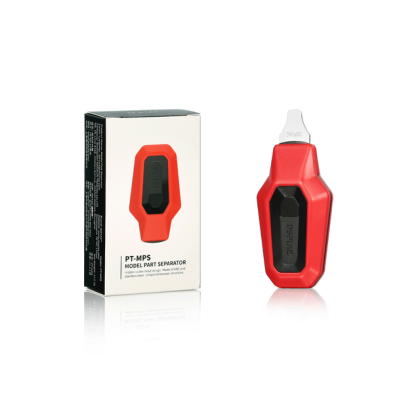
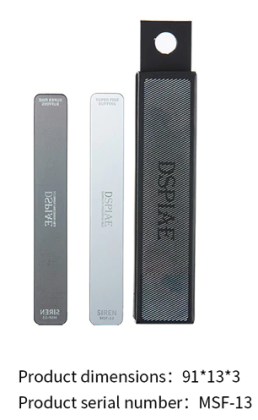
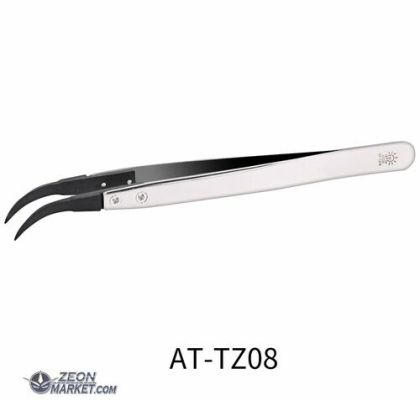
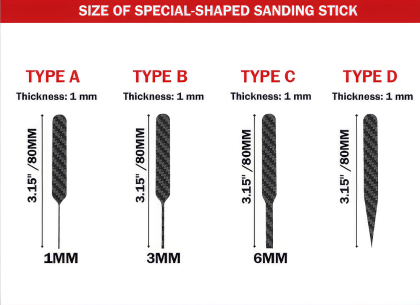
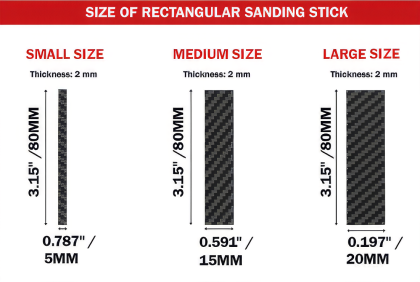
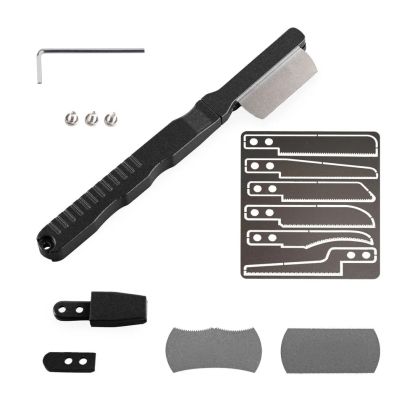
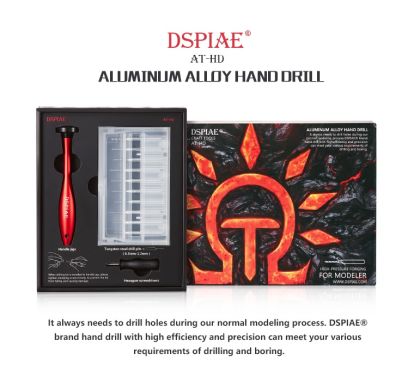
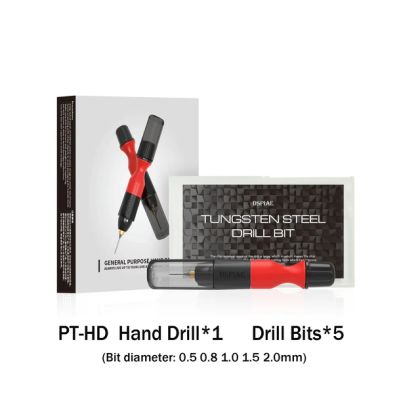
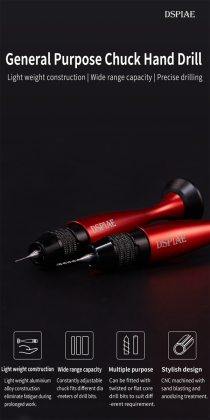
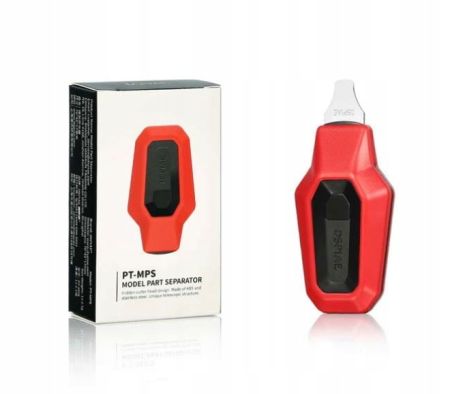
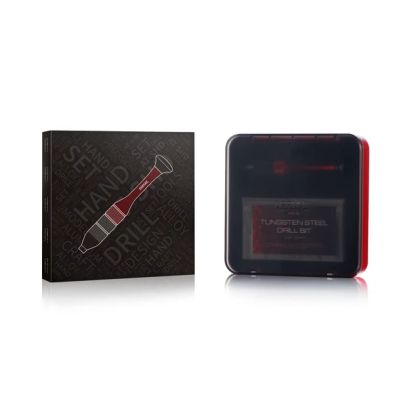
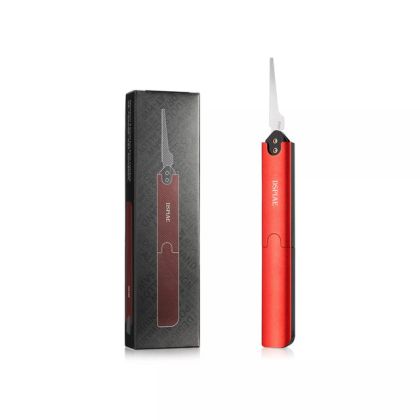
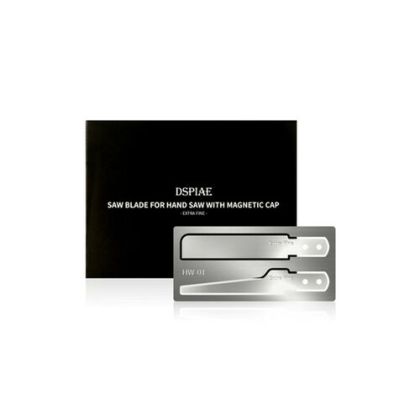
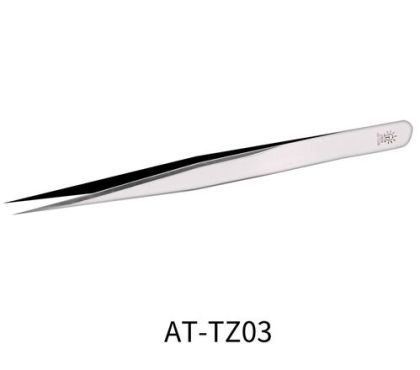
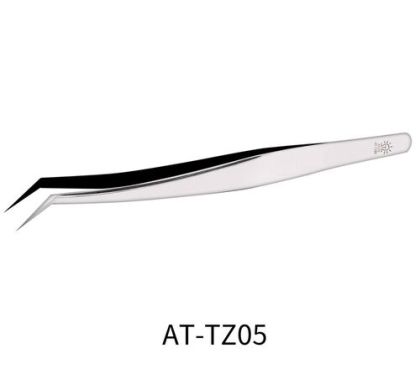
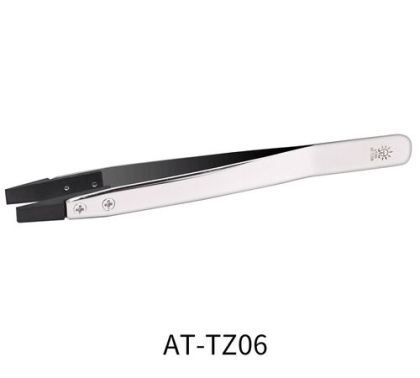
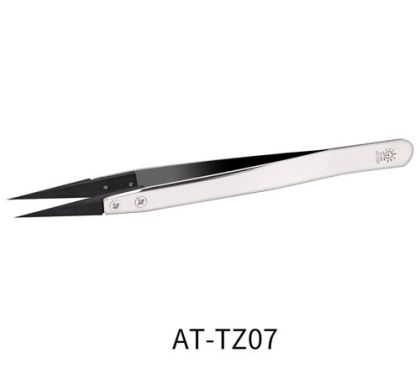
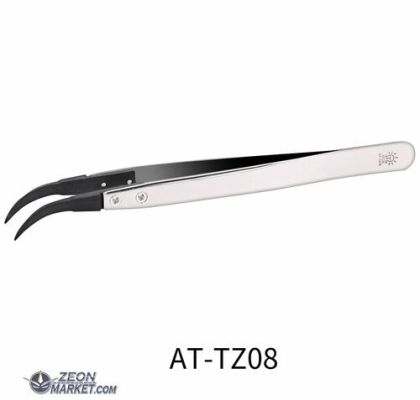
Good modelling tools are the ones you stop noticing — the work goes by itself and the model carries no marks of force afterwards. This section sorts them by the operation rather than by material: separating and cutting parts, sanding and levelling, drilling and milling, scribing panel lines, making rivets, folding brass and holding a part while you work on it. Beside those sit the small things that make a bench session pleasant: tweezers, rulers, markers and cotton swabs.
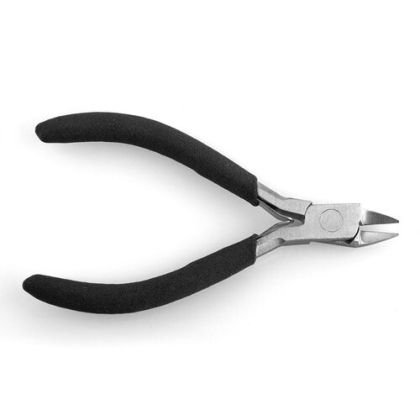
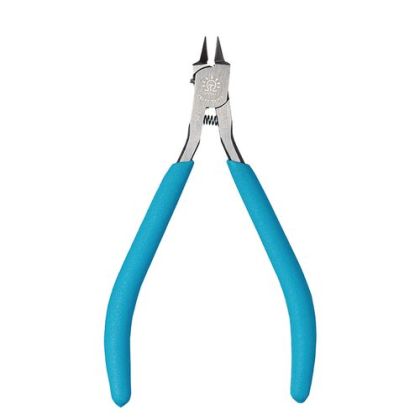
First the parts come off the sprue and are cleaned up, which is the job of nippers and cutters and of the whole cutting section. Then comes levelling: sanding, from coarse grit through to polishing. After that the work that buys fidelity — drilling and milling, scribing and panel lines, and riveting. Working with photo-etch, the thin brass fret carrying very fine detail, has a section of its own in photo-etch benders.
There is no sense in buying a tool for an operation you do not plan. Building straight from the box, good nippers, a blade and abrasive will see you through. Add photo-etch and resin and you need flat-tipped tweezers and a bender. Make your own parts and you end up with scribers, microbits and profile stock. Taken step by step, you end up with one good tool at a time rather than a whole set you half use.
Large scales remove a lot of material and reward a tool that can shift it quickly. Small scales are decided by fineness — the difference between a 0.1 mm and a 0.3 mm scriber is obvious at 1:72, while at 1:32 the finer line would disappear altogether.
A ready-made tool set makes sense as a starting point and as a gift: nothing essential is missing. Experienced modellers usually buy singly, because they know they need three specific files and not ten.
With the model assembled, sanded and free of seams, painting is next — the second half of the work and a different set of tools.