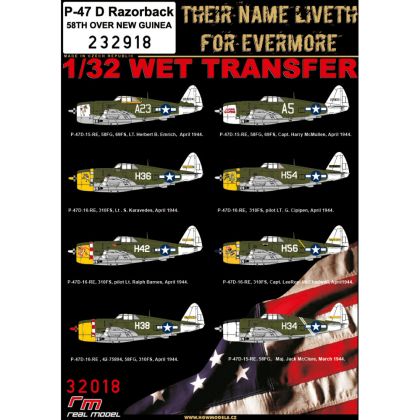
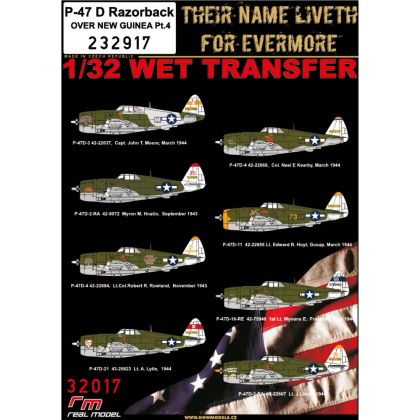
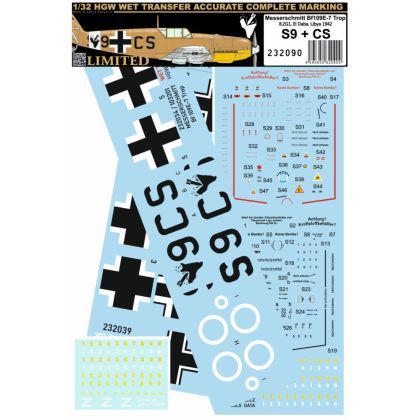
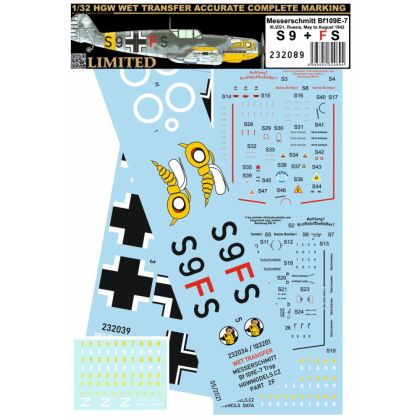
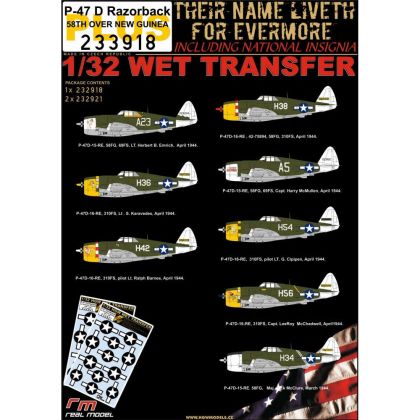
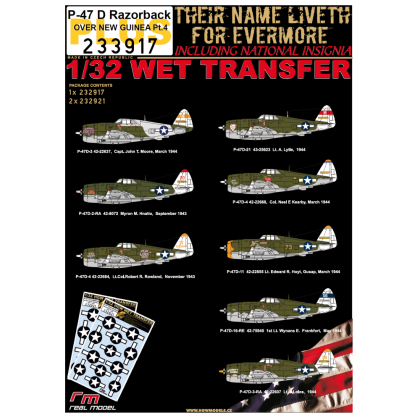
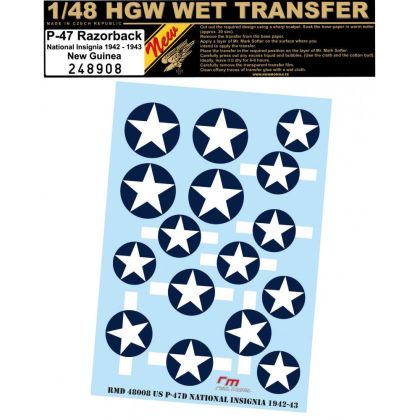
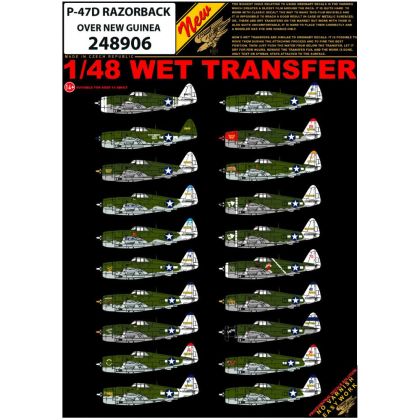
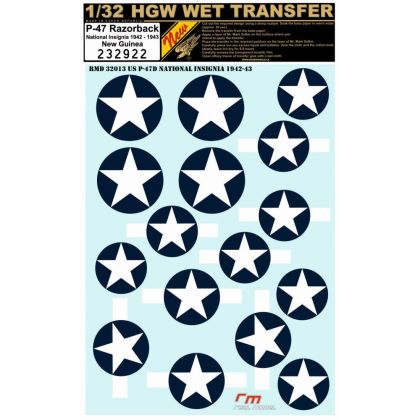
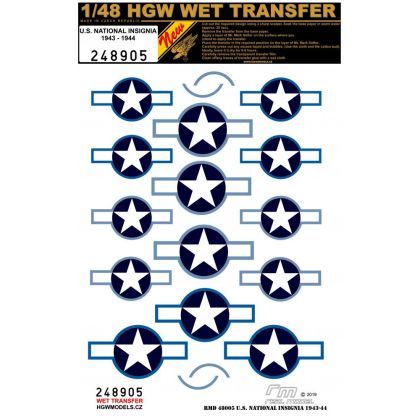
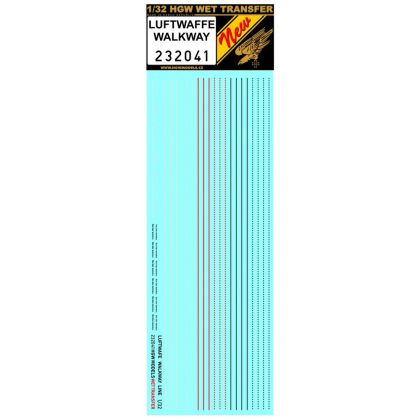
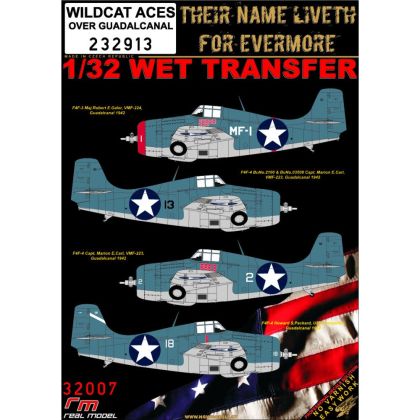
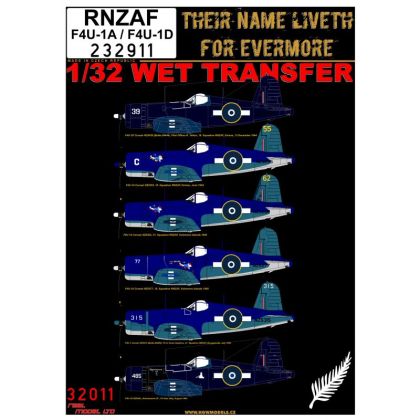
Wet transfers for model aircraft answer the oldest complaint about conventional decals, which is the carrier film. A transfer goes on with water like any decal, but once it has dried thoroughly you peel the film away and nothing is left on the skin except the ink of the stencil or insignia itself. The result looks as though the marking had been sprayed through a template. How the technique works, which scales are listed and what to combine it with is set out below.
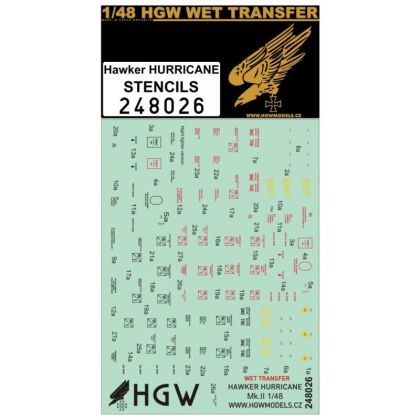
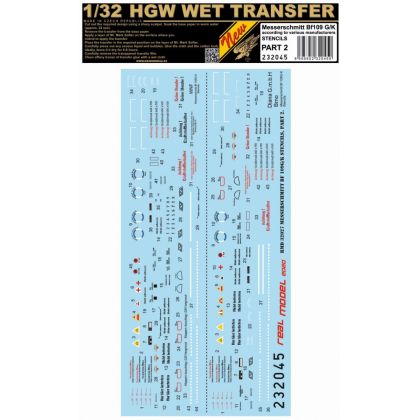
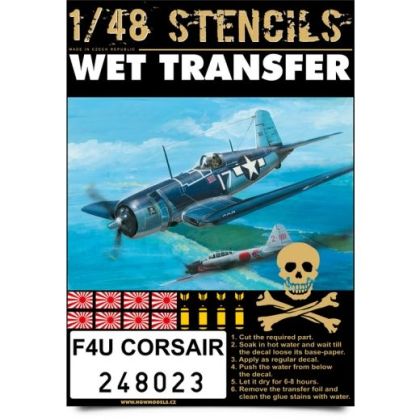
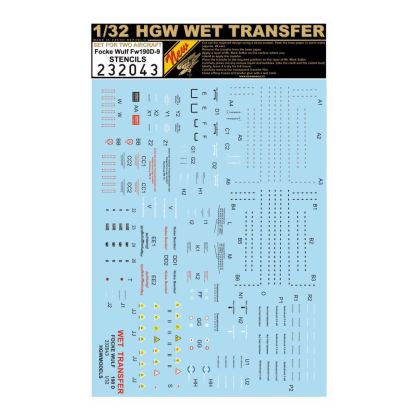
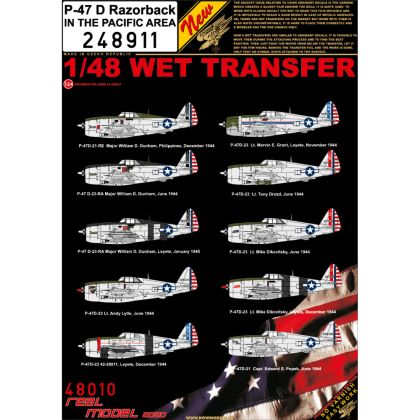
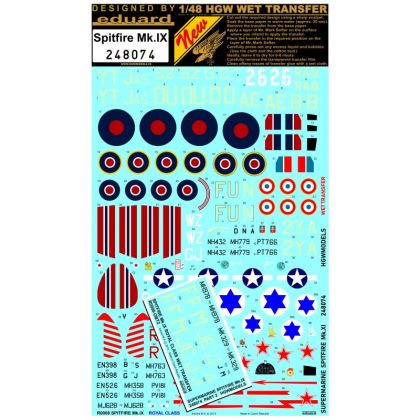
An ordinary decal stays on the model complete, transparent carrier film included. On a matt finish that film is prone to silvering and leaves a visible step around small stencils. A wet transfer works the other way round: the artwork is printed on a film that you peel off once everything is properly dry, leaving a layer of ink no thicker than the print itself. On the technical stencilling that covers an airframe by the hundred the difference is obvious at a glance. The listing runs from complete marking sets through national insignia to stencil sheets for subjects such as the P-47 Razorback, Spitfire Mk.IX and Bf 109E.
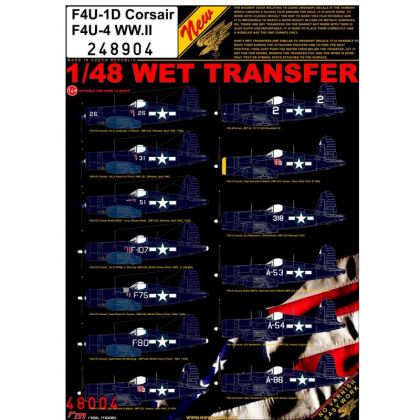
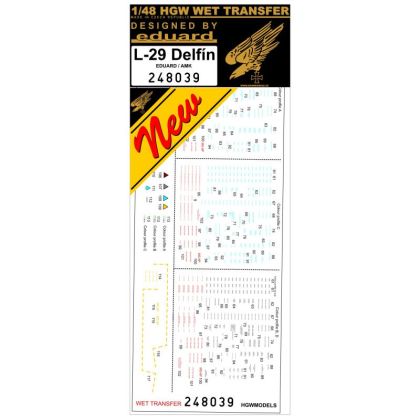
Transfers are listed as 1:32 wet transfers, 1:48 wet transfers and 1:72 wet transfers. Lettering is printed at the size for its own scale, so a thirty-second-scale sheet has no business on a quarter-scale model even when the aircraft is the same.
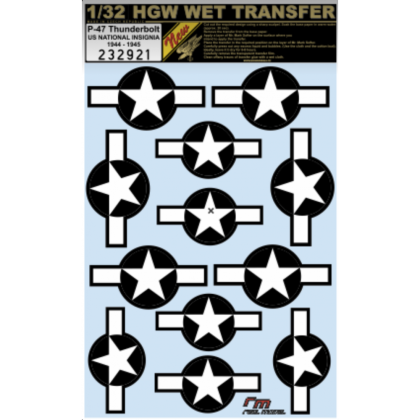
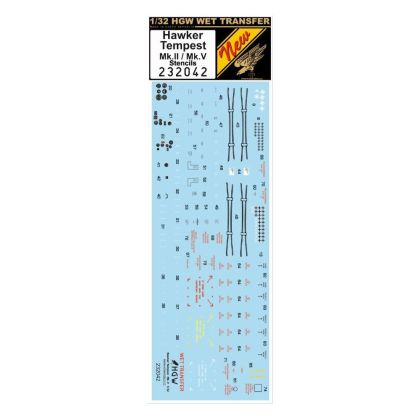
Marking sets carry the complete identity of one particular aircraft, stencil sets only the technical and servicing lettering, and insignia sets the national markings on their own. The three combine freely, each layer applied in turn.
Nothing exotic is needed: a gloss base, water, firm pressure and the patience to let it dry longer than a decal would. The film comes off only when everything has set hard, and hurrying that step is the one common mistake.
Pick the airframe the transfers will finish in aircraft model kits, then match the scale of the sheet to the box.