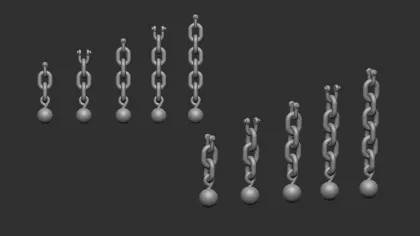
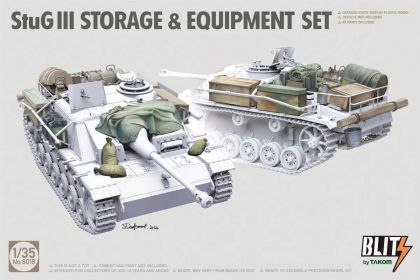
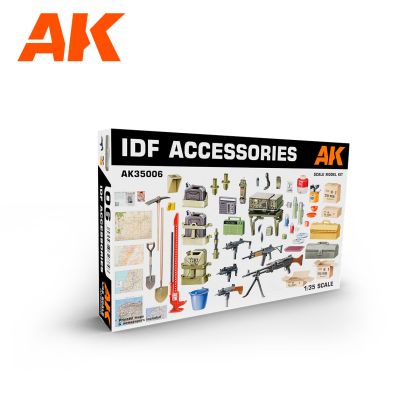
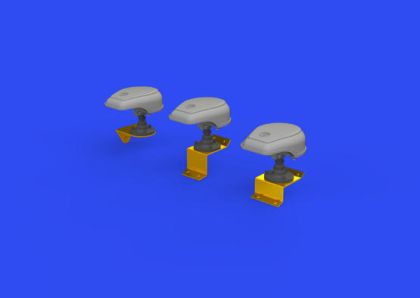
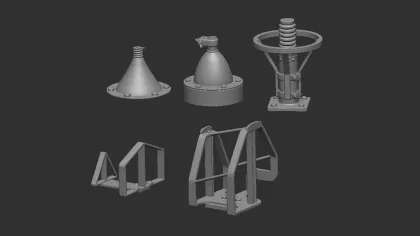
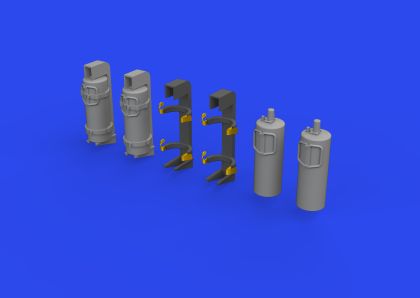
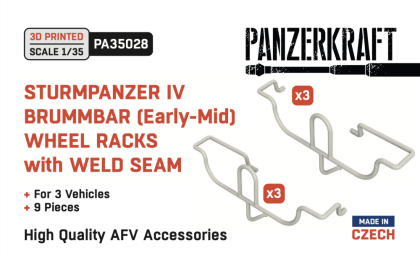
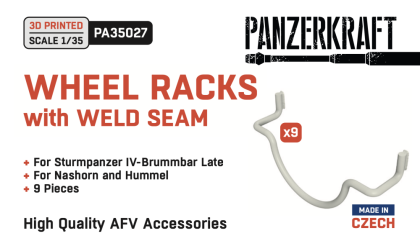
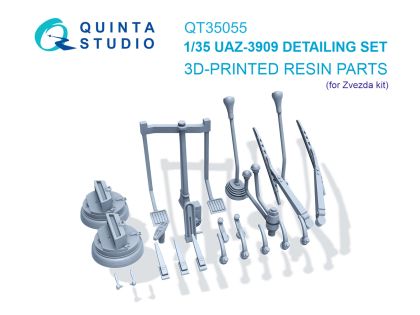
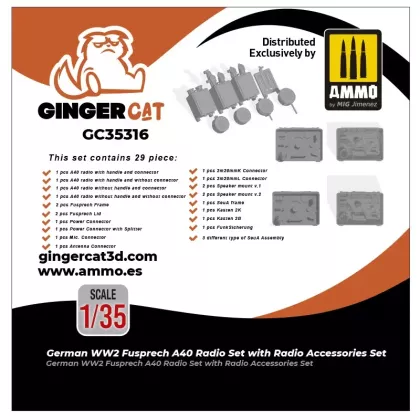
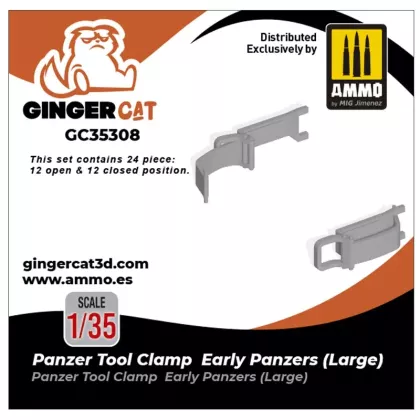
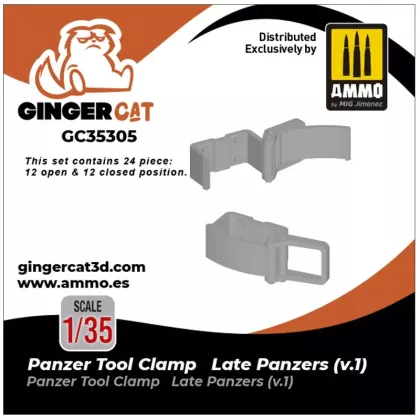
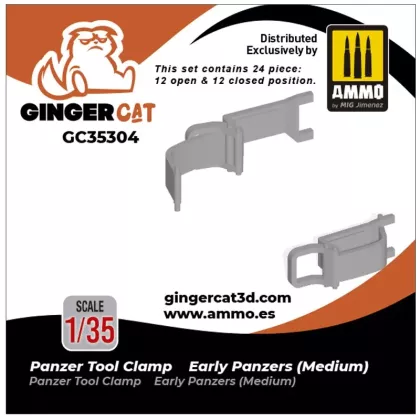
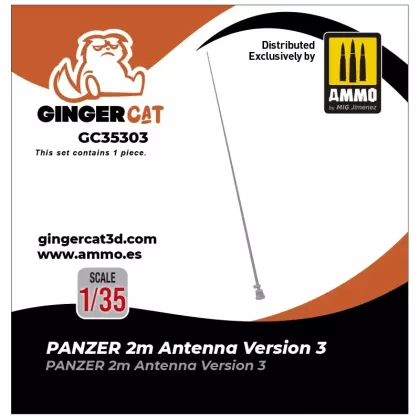
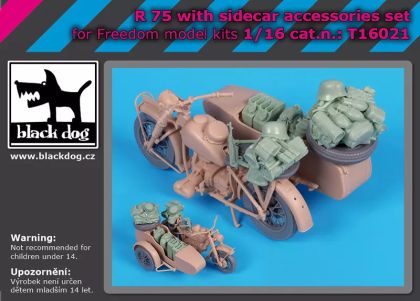
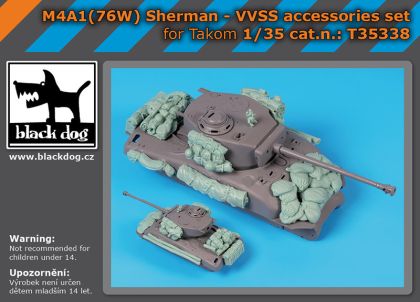
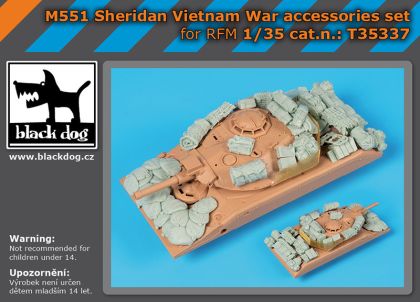
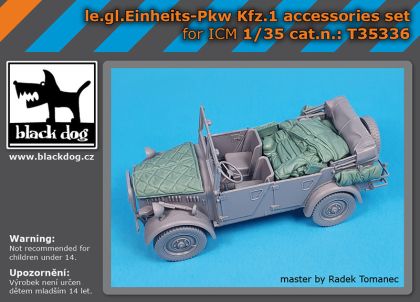
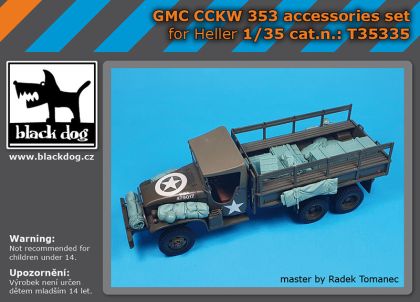
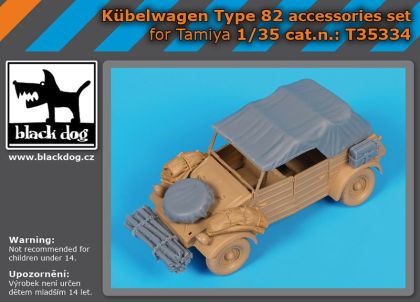
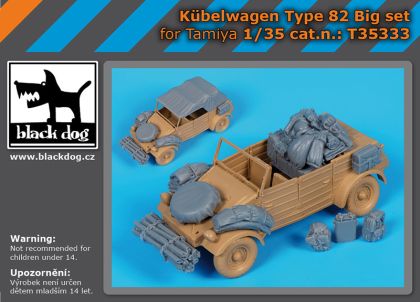
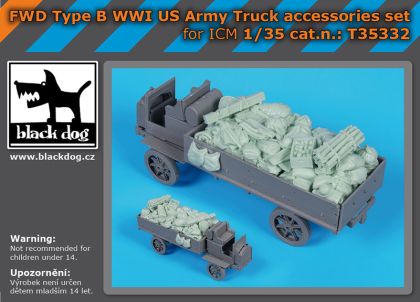
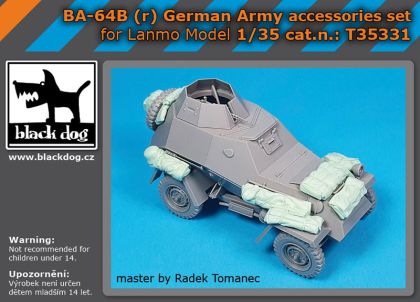
Resin detail sets for military vehicle models fill in everywhere the injection mould cannot reach. Cast polyurethane and, increasingly, 3D-printed parts cover fire extinguishers, shovels and pickaxes for the mudguards, headlamps, starting cranks, cab canvas, sandbag armour and complete interior assemblies. Their detail is sharper than the parts in the box, and working with them is simpler than their reputation suggests; selection, preparation and gluing are covered below.
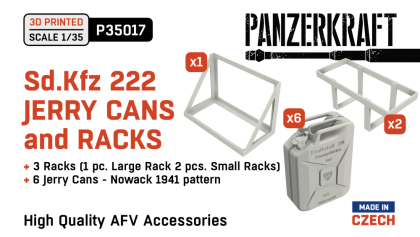
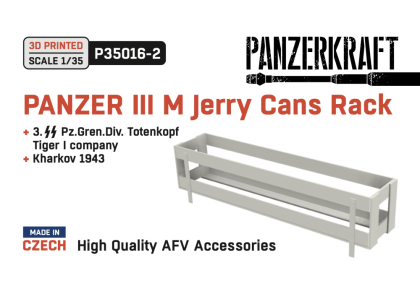
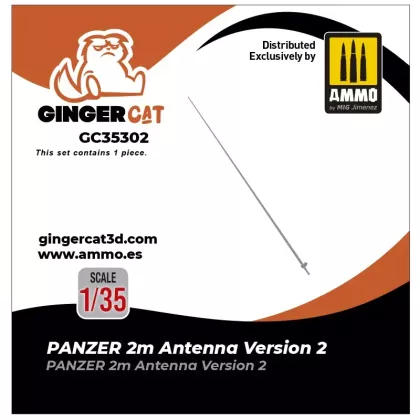
Neither a cast nor a printed part is bound by the limits of a steel mould, so undercuts, deep grooves and things as thin as wire are all possible. On military vehicles that means convincing stowage on the mudguards, aerials, jerrycans with their racks, tarpaulins with real sag, sandbags shaped to the nose of one particular vehicle, open exhausts, and even complete hull interiors for builders who want the hatches open.
A 1:35 shovel on a quarter-scale tank simply will not pass. Stay with the scale of your kit. Small stowage items are often packed several to a bag, so one set can equip more than one vehicle.
Fitting printed headlamps or fire extinguishers is an evening's work for a beginner. A hull interior or sandbagged nose armour calls for experience with cutting, filling and dry-fitting, but rewards you with a model people stop in front of.
Wash the parts first in warm water with a little washing-up liquid, as release agent left on the surface repels paint. Separate them from pour blocks with a saw or scalpel, and do not breathe the sanding dust. Resin takes cyanoacrylate; polystyrene cement does nothing to it at all.
New stowage goes most often onto 1:35 military vehicle kits, where the number of dedicated sets to choose from is largest.