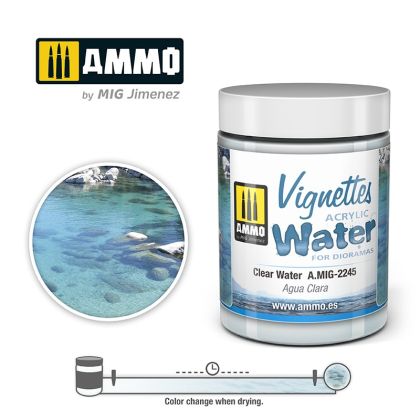
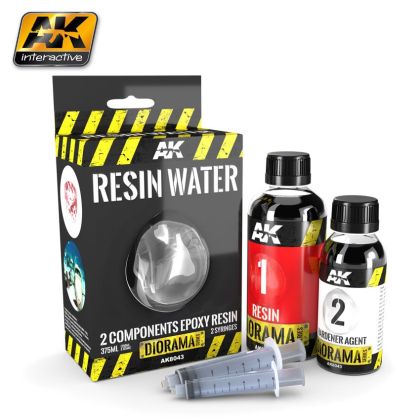
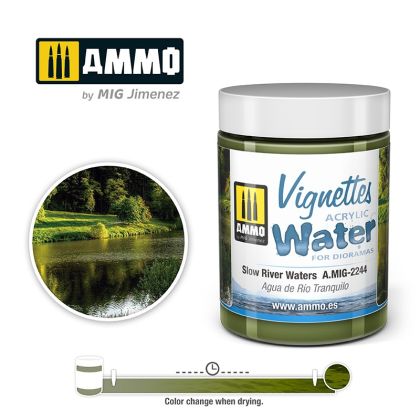
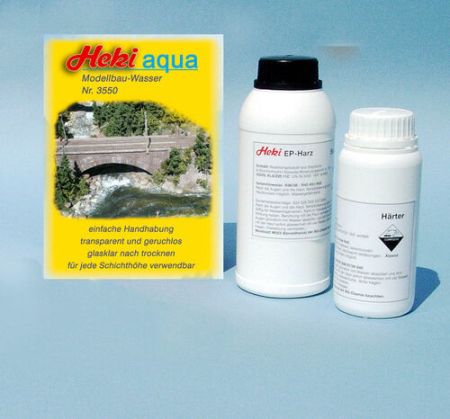
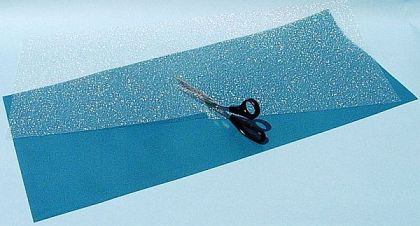
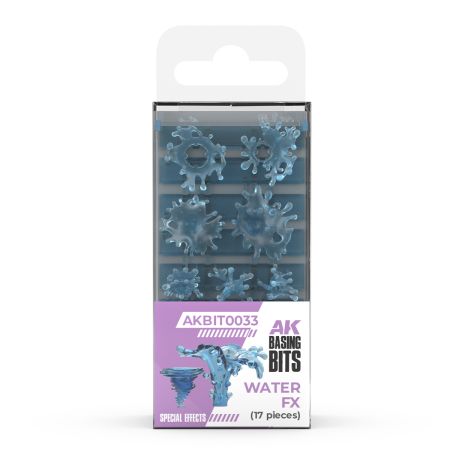
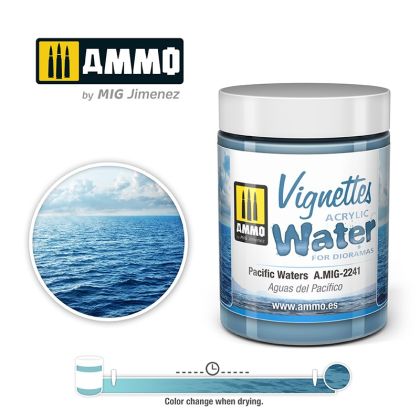
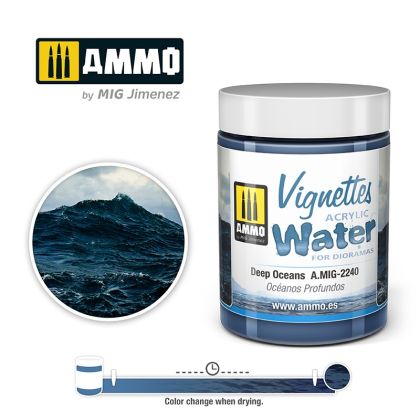
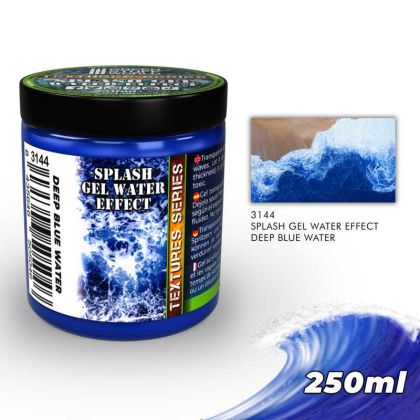
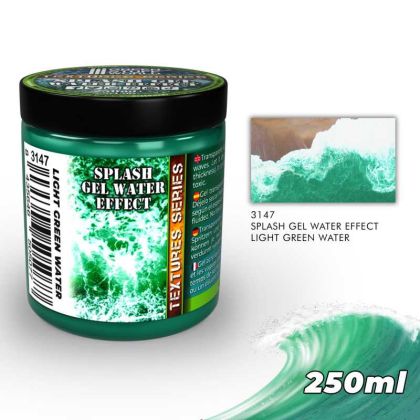
Water on a diorama is made three ways today: with two-part epoxy resin for deeper surfaces, with a thick gel for ripples and foam, and with wet effects for puddles, damp traces and the sheen on metal. The group holds pourable resins, clear and tinted gels, white water highlights, ready-made water sheets and gloss media for sealing a surface.
How each material behaves, and the order they are applied in, is described further down the page.
The eye recognises water by three things: depth, sheen and movement. Depth does not come from the material but from the painted bed - the further from the bank, the darker the shade. Sheen comes from the final coat. Movement is the work of gel, drawn up into crests with a brush or a cocktail stick and left to dry. The order never changes: bed, paint, pour the surface, ripples, white crests.
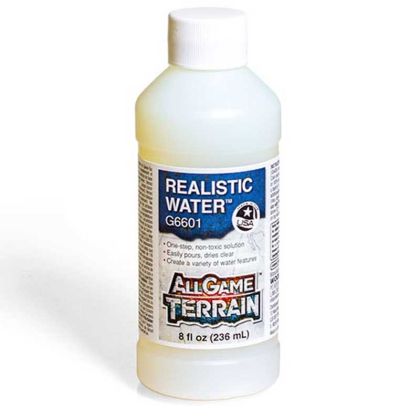
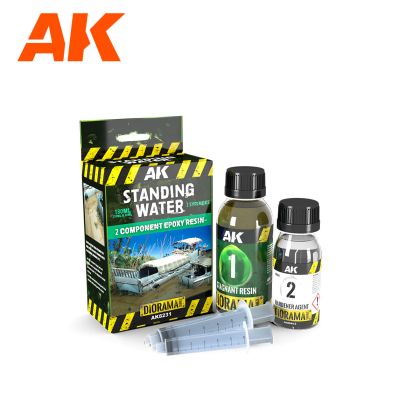
Two-part epoxy resin is mixed to the ratio on the instructions, poured into a sealed tray of plastic or foam, and cures overnight or longer. It takes several millimetres in one pour but needs perfectly sealed edges, or it finds its way out. It suits ponds, ditches, harbour basins and a short stretch of river.
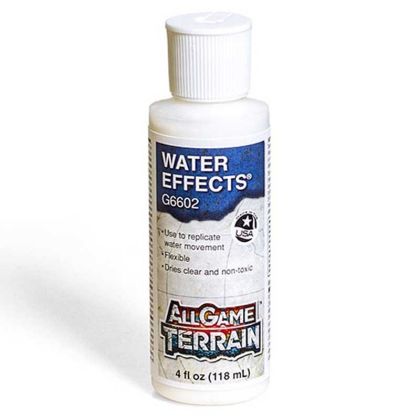
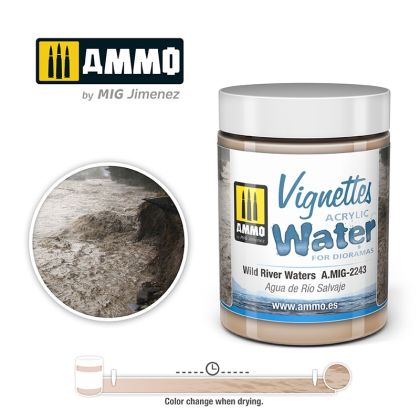
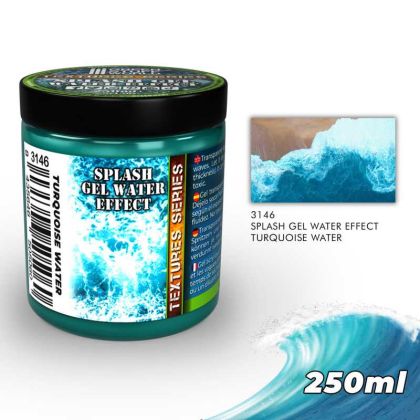
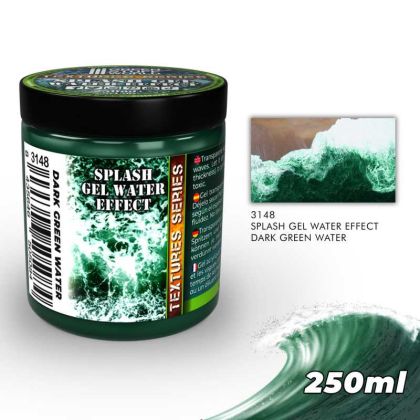
Gels are white or cloudy in the tub and dry clear. They go on in thin layers, so nothing runs and sloping ground is no obstacle. Colour options from tropical turquoise to muddy brown save you painting a bed at all, if what you are building is only a puddle or a wet, rutted track.
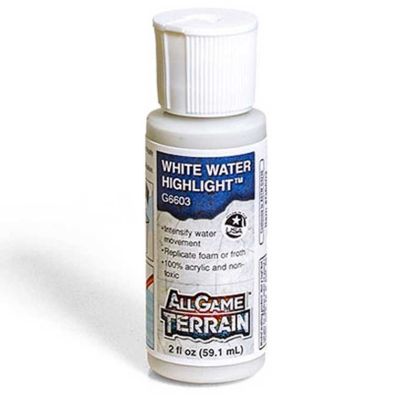
For the wake behind a ship, for rapids and for water breaking on rock, a white highlight paste is applied to a surface that has already cured. For a wet sheen on mudguards, boots or a tarpaulin, a thin film of gloss medium is enough. Less is better here: gloss over a whole area looks like varnish, whereas a few glossy patches read as water.
Mix resin and gel in a disposable pot and pour onto a level surface you can leave undisturbed for a day. It is worth looking through the modelling chemicals beforehand - a degreaser and clean thinner to hand save a good deal of grief once gel goes somewhere it should not.