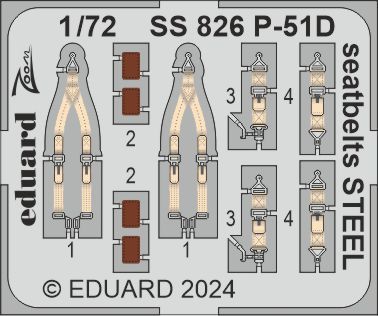
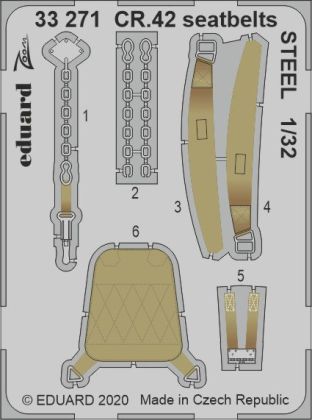
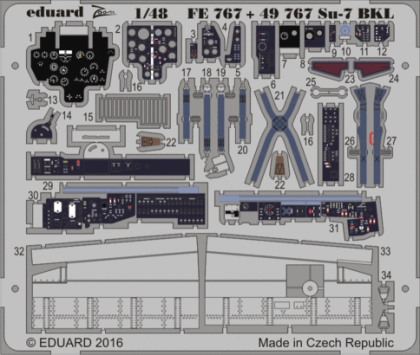
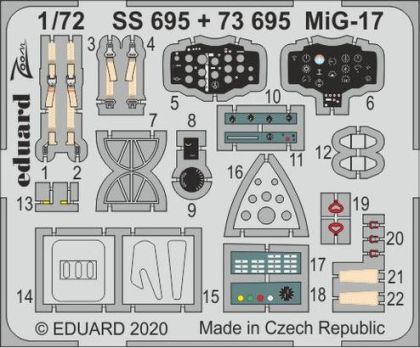
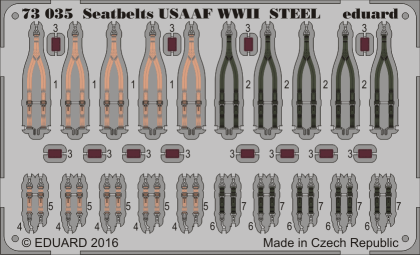
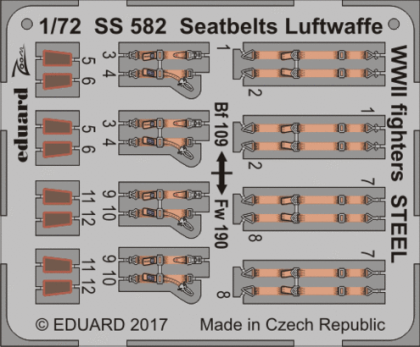
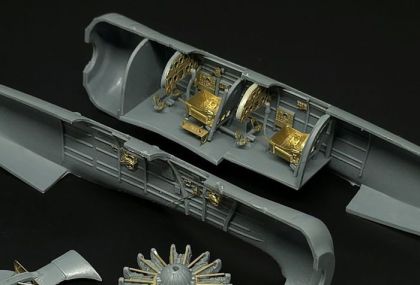
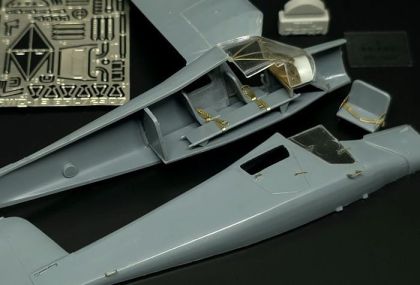
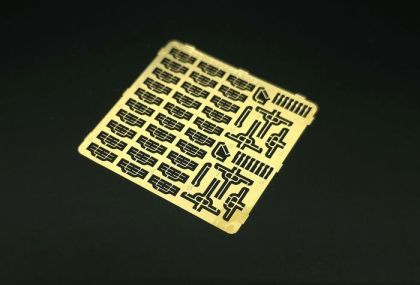
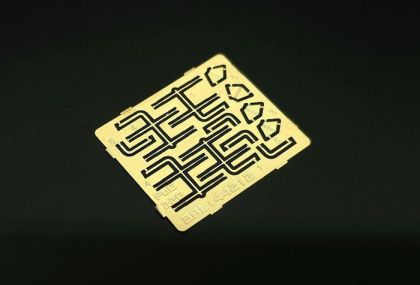
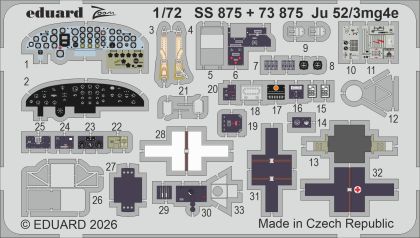
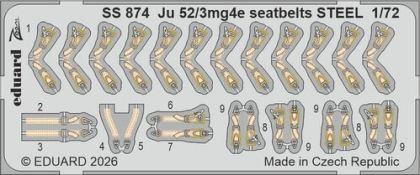
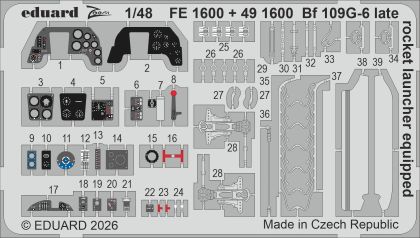
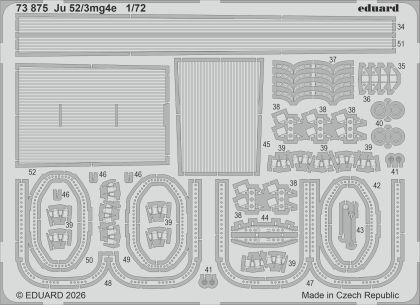
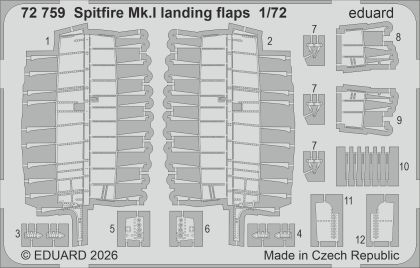
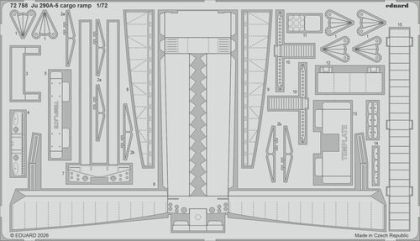
Photo-etched parts for aircraft models add the detail injection moulding cannot reach: pilot seatbelts, radiator grilles, instrument panels, complete flaps with their ribbing. A photo-etch fret is a thin metal sheet with the parts chemically etched into it, and you break them out, fold them and glue them in place. Brass and steel sets run from 1:144 up to giant 1:18. What working with etch involves, what to glue it with and which set to start on are covered in the guide below.
Photo-etch is made by chemically etching thin brass or steel sheet through a photographic mask. The result is a fret carrying dozens of parts a fraction of a millimetre thick, of a kind no mould for styrene will produce. On aircraft, etch most often supplies seatbelts, radiator grilles and shutters, instrument panels, gear bay linings or whole flaps with their ribs. These are the details that separate a decent build from one a visitor stops to look at.
For a first encounter with etch, take a small cockpit set: a few pre-coloured parts, seatbelts and an instrument panel. Large exterior sets, gear bays or flaps assume you are comfortable folding and soldering a shape over an edge, so keep them for a second or third build.
Etch is usually designed around one kit, so take that note in the title seriously. The range sorts by scale: the largest selections are 1:48 photo-etch and 1:72 photo-etch, large airframes are covered by 1:32 and 1:24, collectors by the tiny 1:144, and separate chapters go to 1:35 aircraft and the giants of 1:18.
Seatbelts etched from springy steel hold an arranged shape better than brass ones. Pre-coloured etch has its detail printed at the factory, which takes the hardest brushwork off your hands. Degrease bare brass and lay down a primer before painting, or the colour will not key to the smooth metal.
Photo-etch is the quickest way to move a build up a division. Choose the set for the scale and the kit you own, and look for the next project among the aircraft model kits.