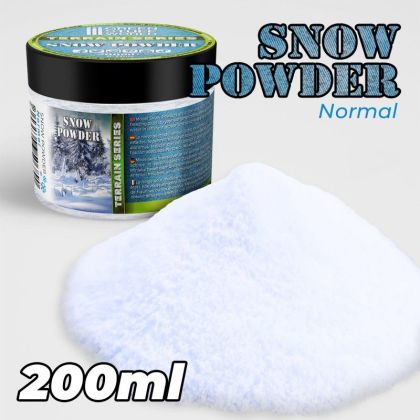
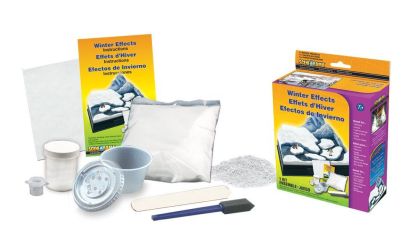
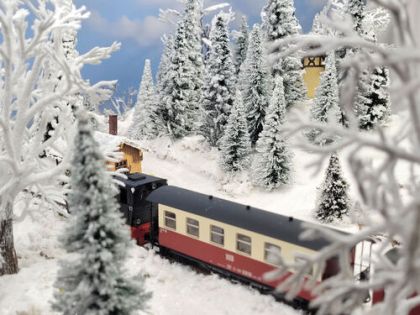
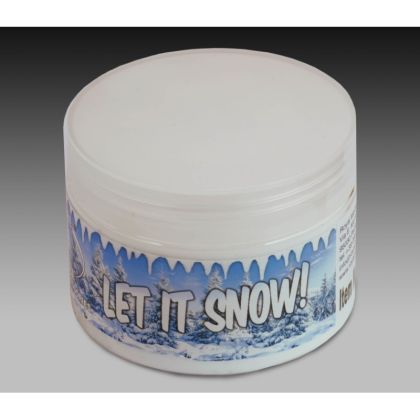
Snow on a diorama is made two ways: with a loose powder that is fixed in place with a binder after scattering, and with a ready-made paste applied by brush or spatula wherever snow has to cling. The group holds powder with a flake size around seven tenths of a millimetre, fine and flaked versions, binders, and winter effects for melting and trodden snow.
How fresh snowfall differs from snow three days old, and which material each one wants, is set out below.
Snow behaves on a scene according to its age. Fresh snow is smooth and untrodden and fills every hollow, so the terrain underneath disappears. Snow a few days old has ruts through it, grey edges and grass poking out. Melting snow is wet, gone in patches, and surrounded by mud. Decide between those three before you start, because each is made with a different material: powder for fresh, paste for trodden, and paste combined with water effects for a thaw.
Coat the area with a binder or thin PVA first, then sift the powder from several centimetres up so it falls evenly. Once dry, repeat wherever the layer should be deeper. Never scatter snow onto a dry surface and never press it down - it loses the loft that makes it read as snow.
Paste suits ledges, build-up on tracks and wheels, a cap on a stone, the edges of a roof. Apply it with a spatula or an old brush in irregular patches, not as an even coat. Snow never lies the same everywhere: it holds in the lee and falls away where somebody has walked.
A pure white area looks like sugar. Real snow has a blue-grey shadow in its hollows and a dirty edge beside a road. A very thin grey-blue glaze into the hollows and fine dust where vehicles have passed will help. Only then does a scene start to look cold.
A winter scene is generous in that snow hides most of the work on the terrain. It is equally merciless about whatever stands clear of it, so give the detail above the layer twice the attention and look for the other materials in scenic accessories.