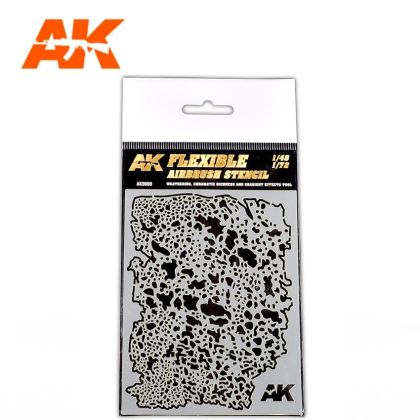
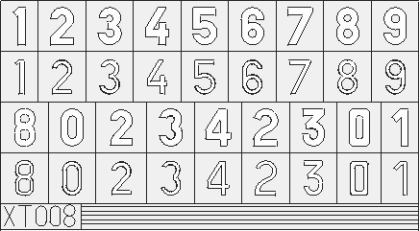
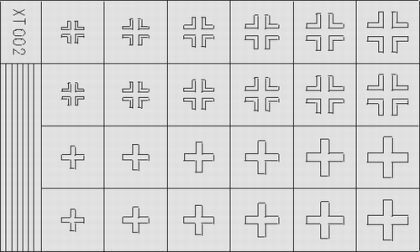
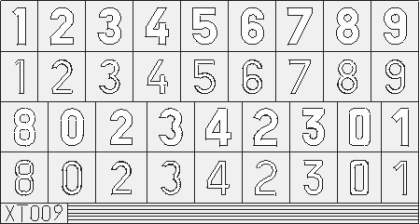
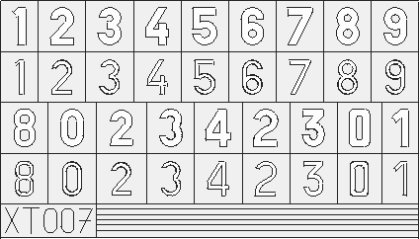
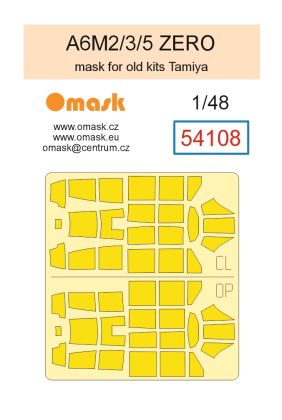
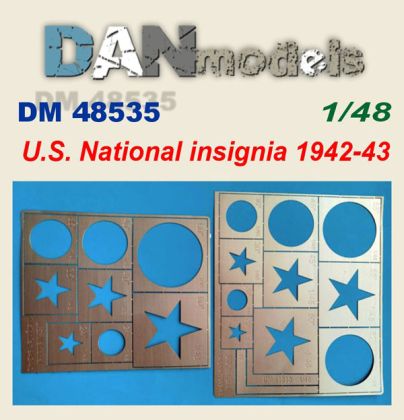
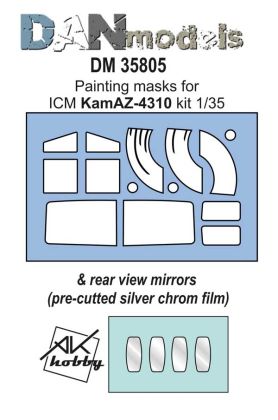
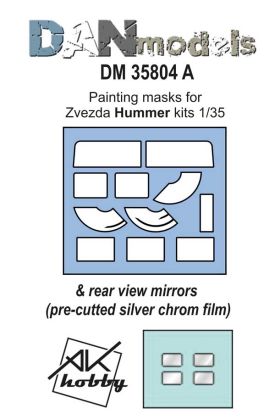
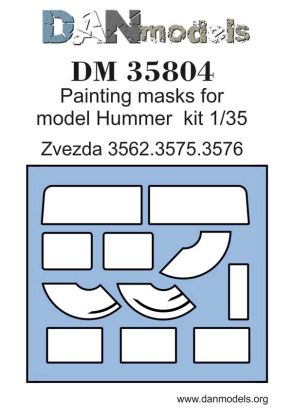
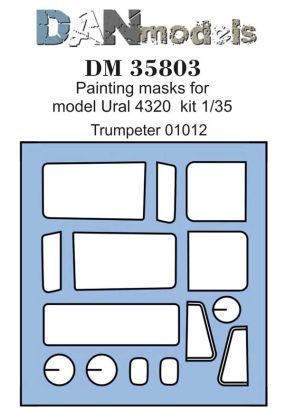
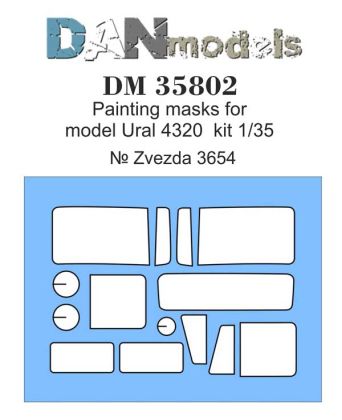
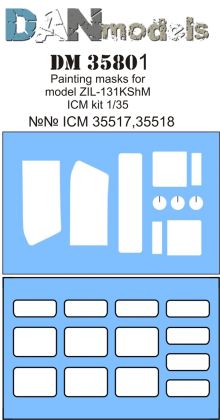
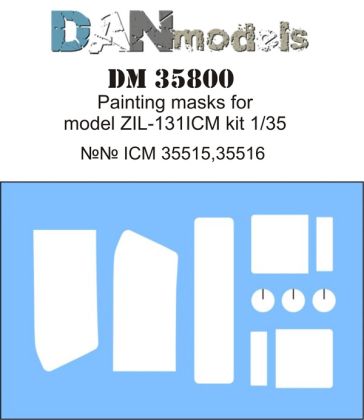
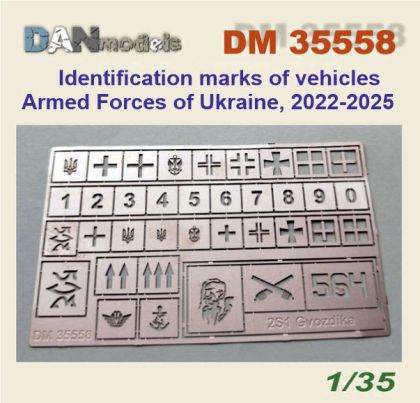
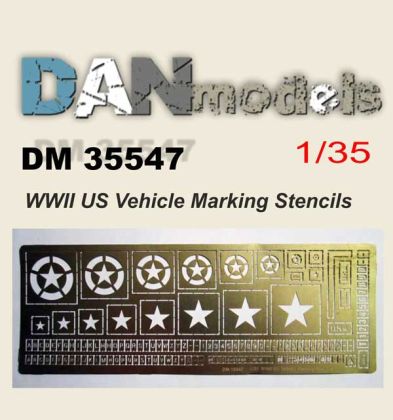
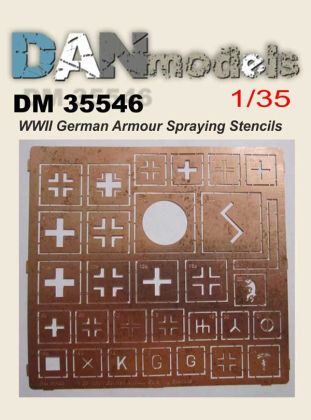
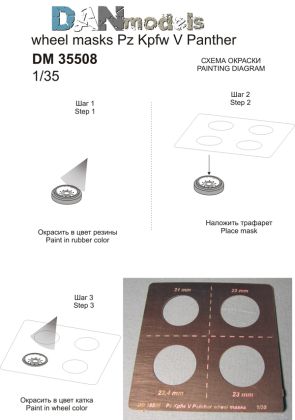
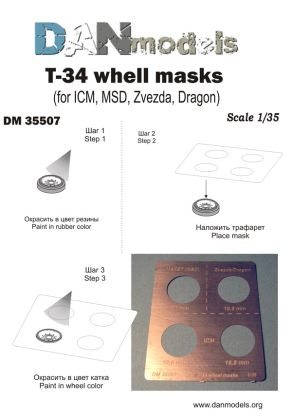
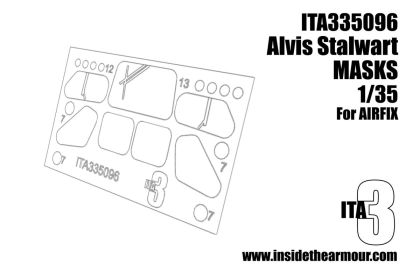
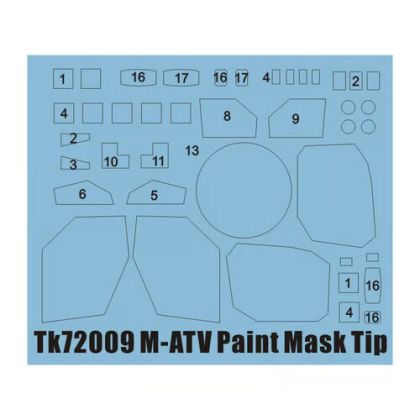
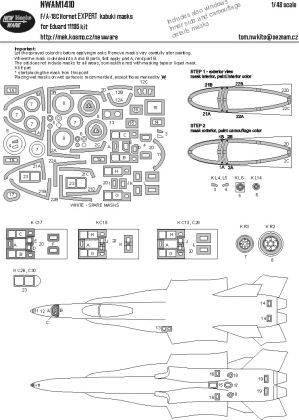
Paint masks for military vehicle models are self-adhesive stencils that let you spray camouflage, national insignia and tactical numbers with a perfectly clean edge. The second large group is covers for windows, headlamps and mirrors on military vehicles, which save hours of fiddly masking when a cab is painted. Sprayed markings also take weathering better than a decal does. How to choose a set, and the spraying sequence that keeps paint from creeping under the edge, is covered below.
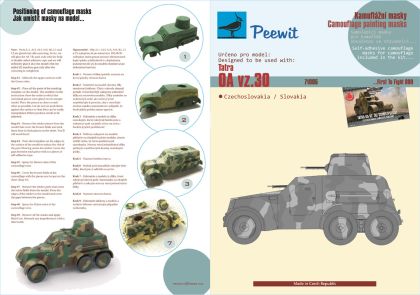
Where aircraft masks are mostly about canopies, masks for military vehicles do three jobs. Camouflage stencils transfer complex patterns onto armour plate, including period mottled schemes. Insignia and numeral masks replace decals wherever markings should look genuinely sprayed on, from stars and crosses to registration plates. And cover sets for the windows, vision blocks and mirrors of particular trucks and armoured vehicles speed up painting a cab enormously.
Window covers are cut to the exact shape of parts from one tooling, so there a match with the kit is essential. Insignia and camouflage stencils are looser: the right scale and the right size of pattern is enough.
Ordinary kabuki paper masks are good for one application, while adhesive films stand several. Where a pattern repeats around the vehicle, stencils designed for repeated placement earn their keep.
Press the edges of the mask down with a small spatula, spray thin coats at right angles to the edge, and lift the mask while the paint is still fresh. Always work the airbrush away from the mask and never into the edge, or you will blow paint underneath it.
If you would rather have the fine printed graphics of a transfer for your markings, look through armour decals as well. Freshly sprayed patterns show best on 1:35 military vehicle kits.